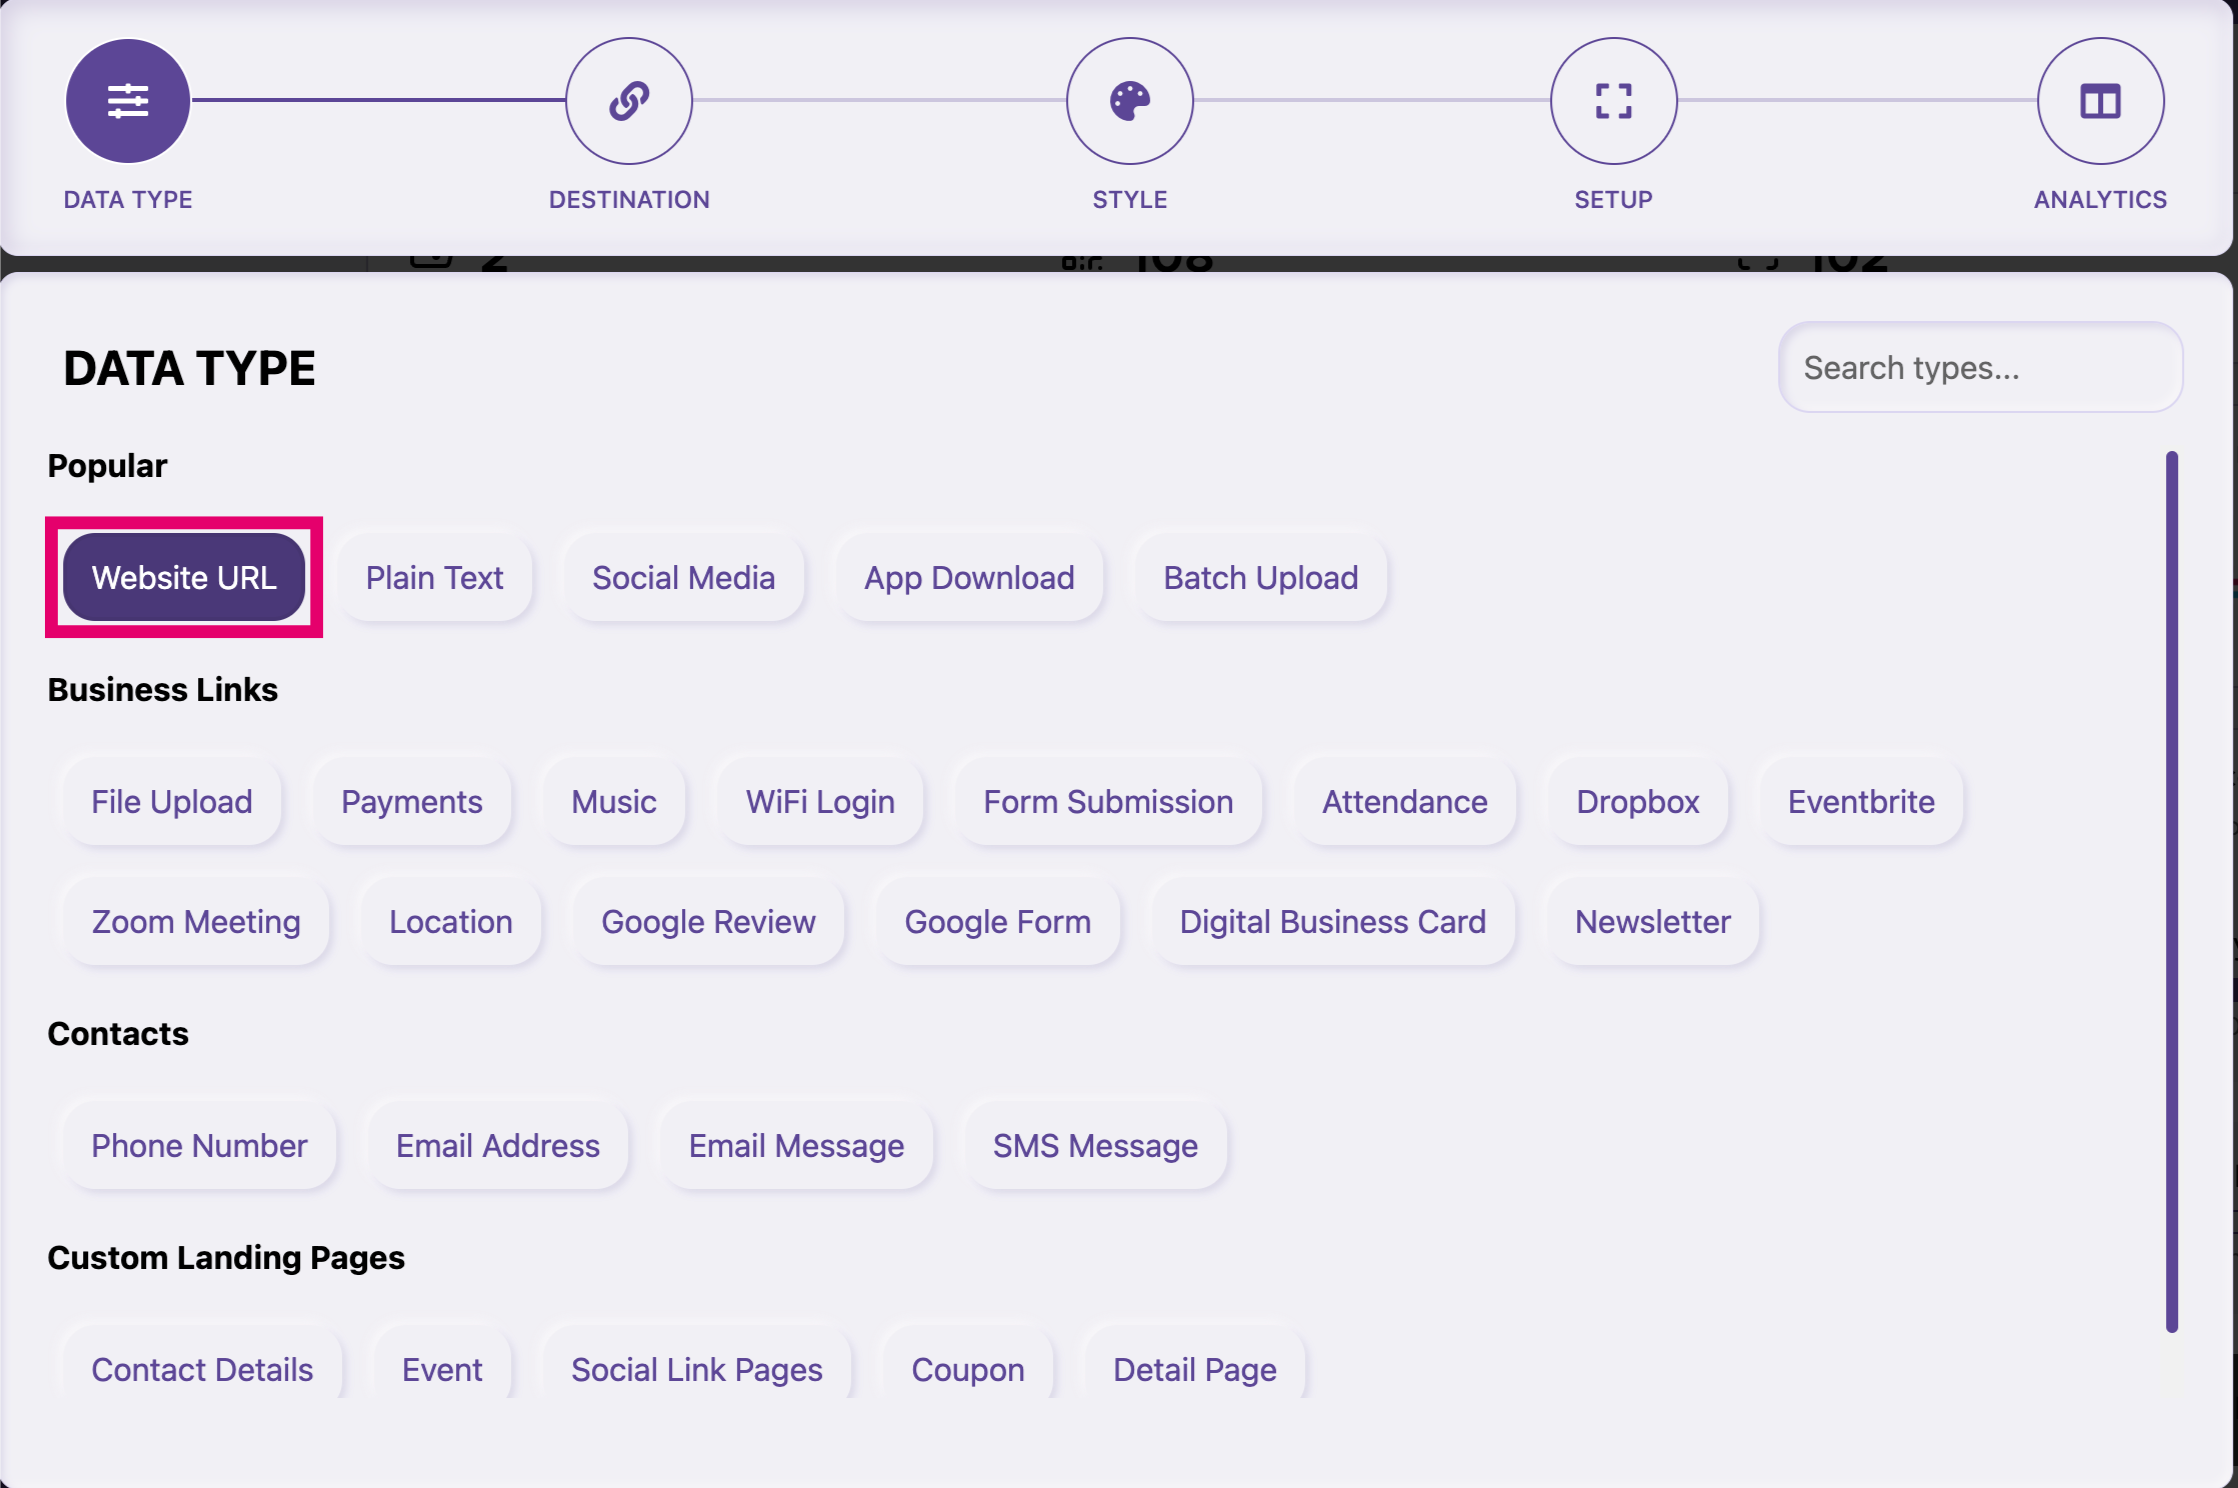
01
Log in/Register your account at www.qrstuff.com and choose “Website URL” as your data type.
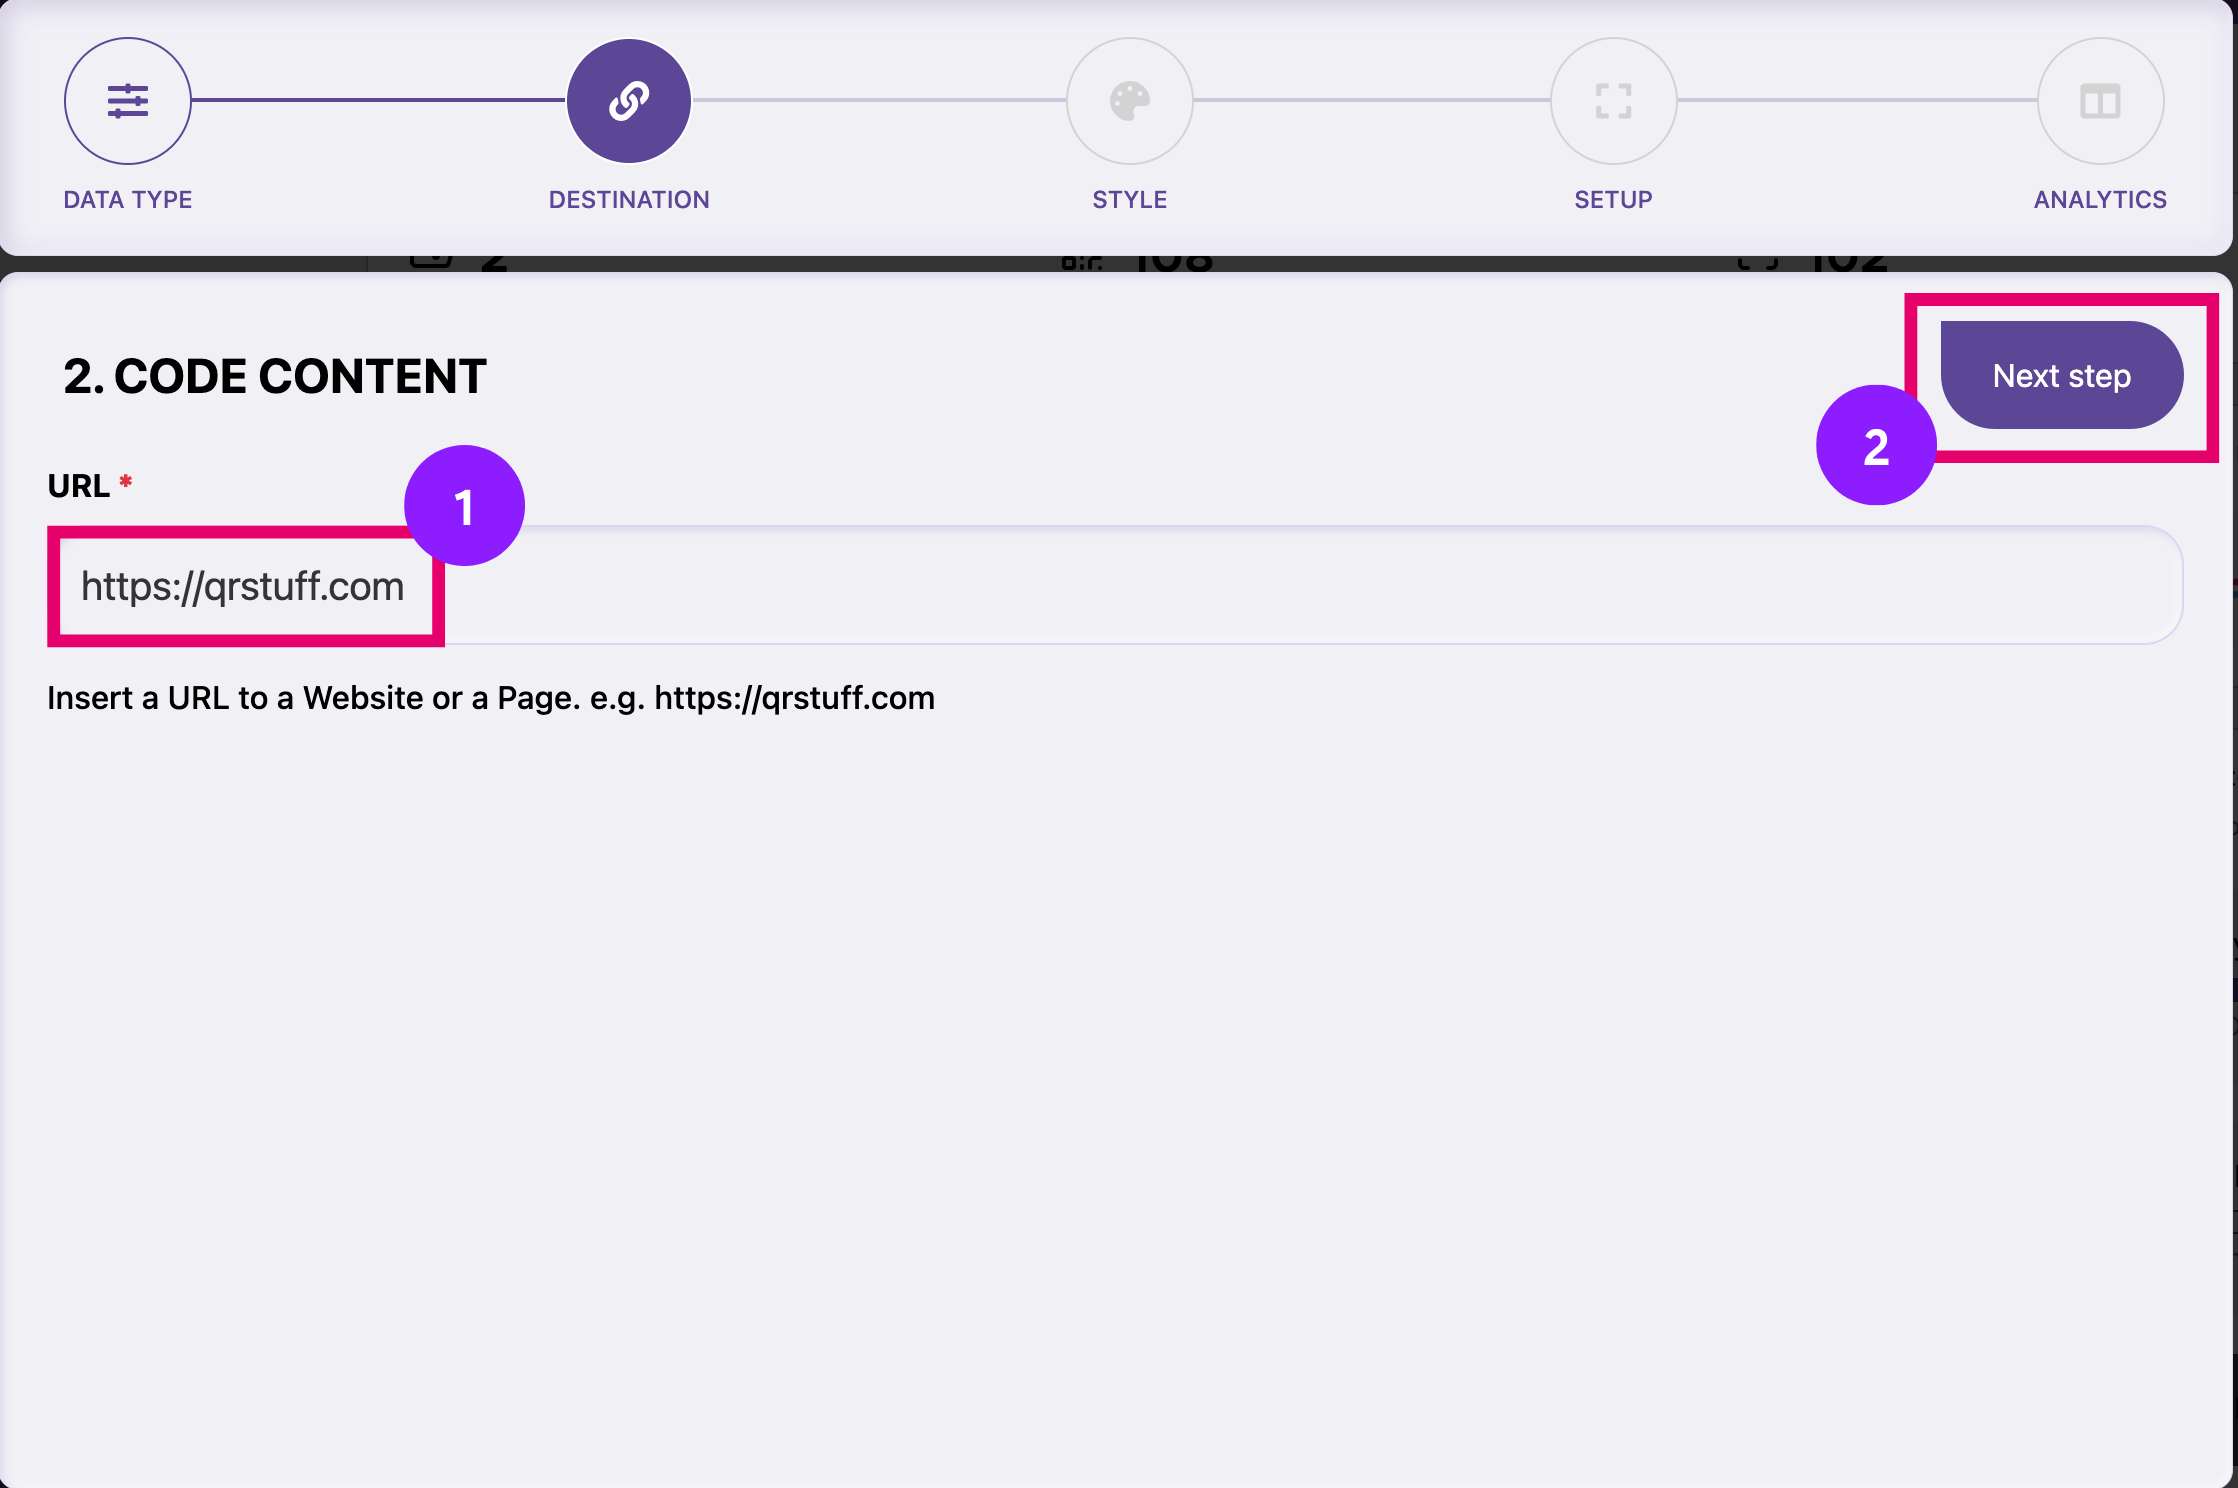
02
Enter the link that you would like your QR code to be directed to, and then click on “Next step”. Make sure to always use the prefix “HTTP://” or “HTTPS://” or the URL won’t be accepted by the generator.
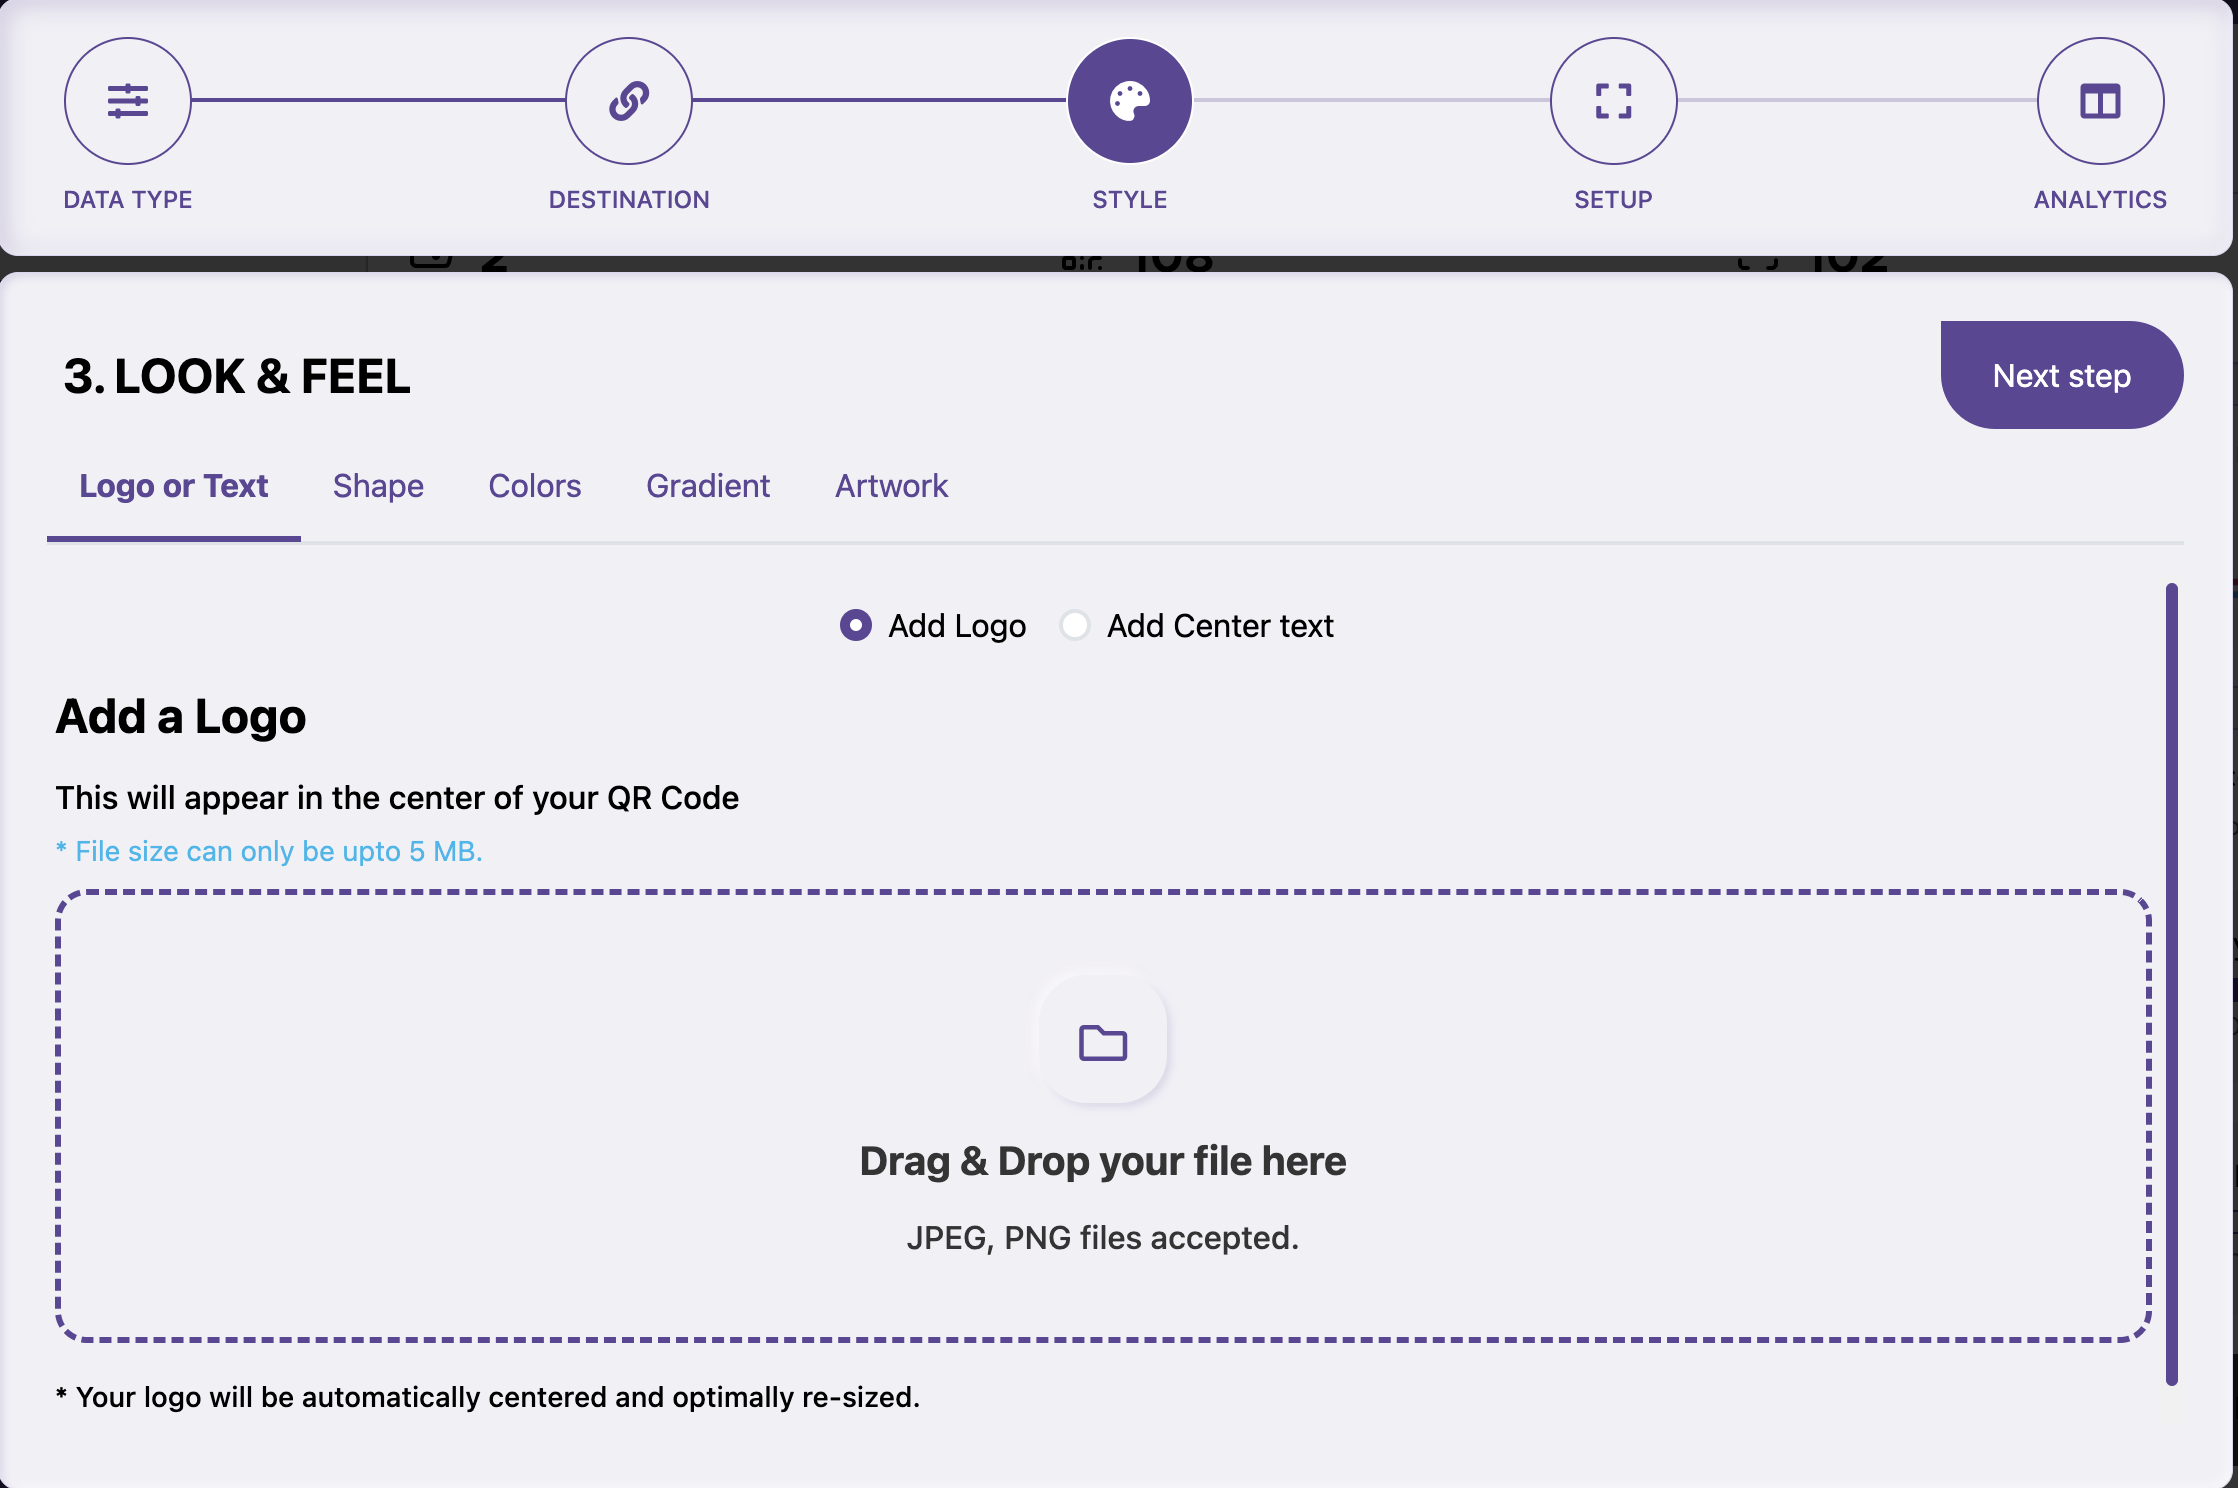
03
You can style your QR Code with the following -
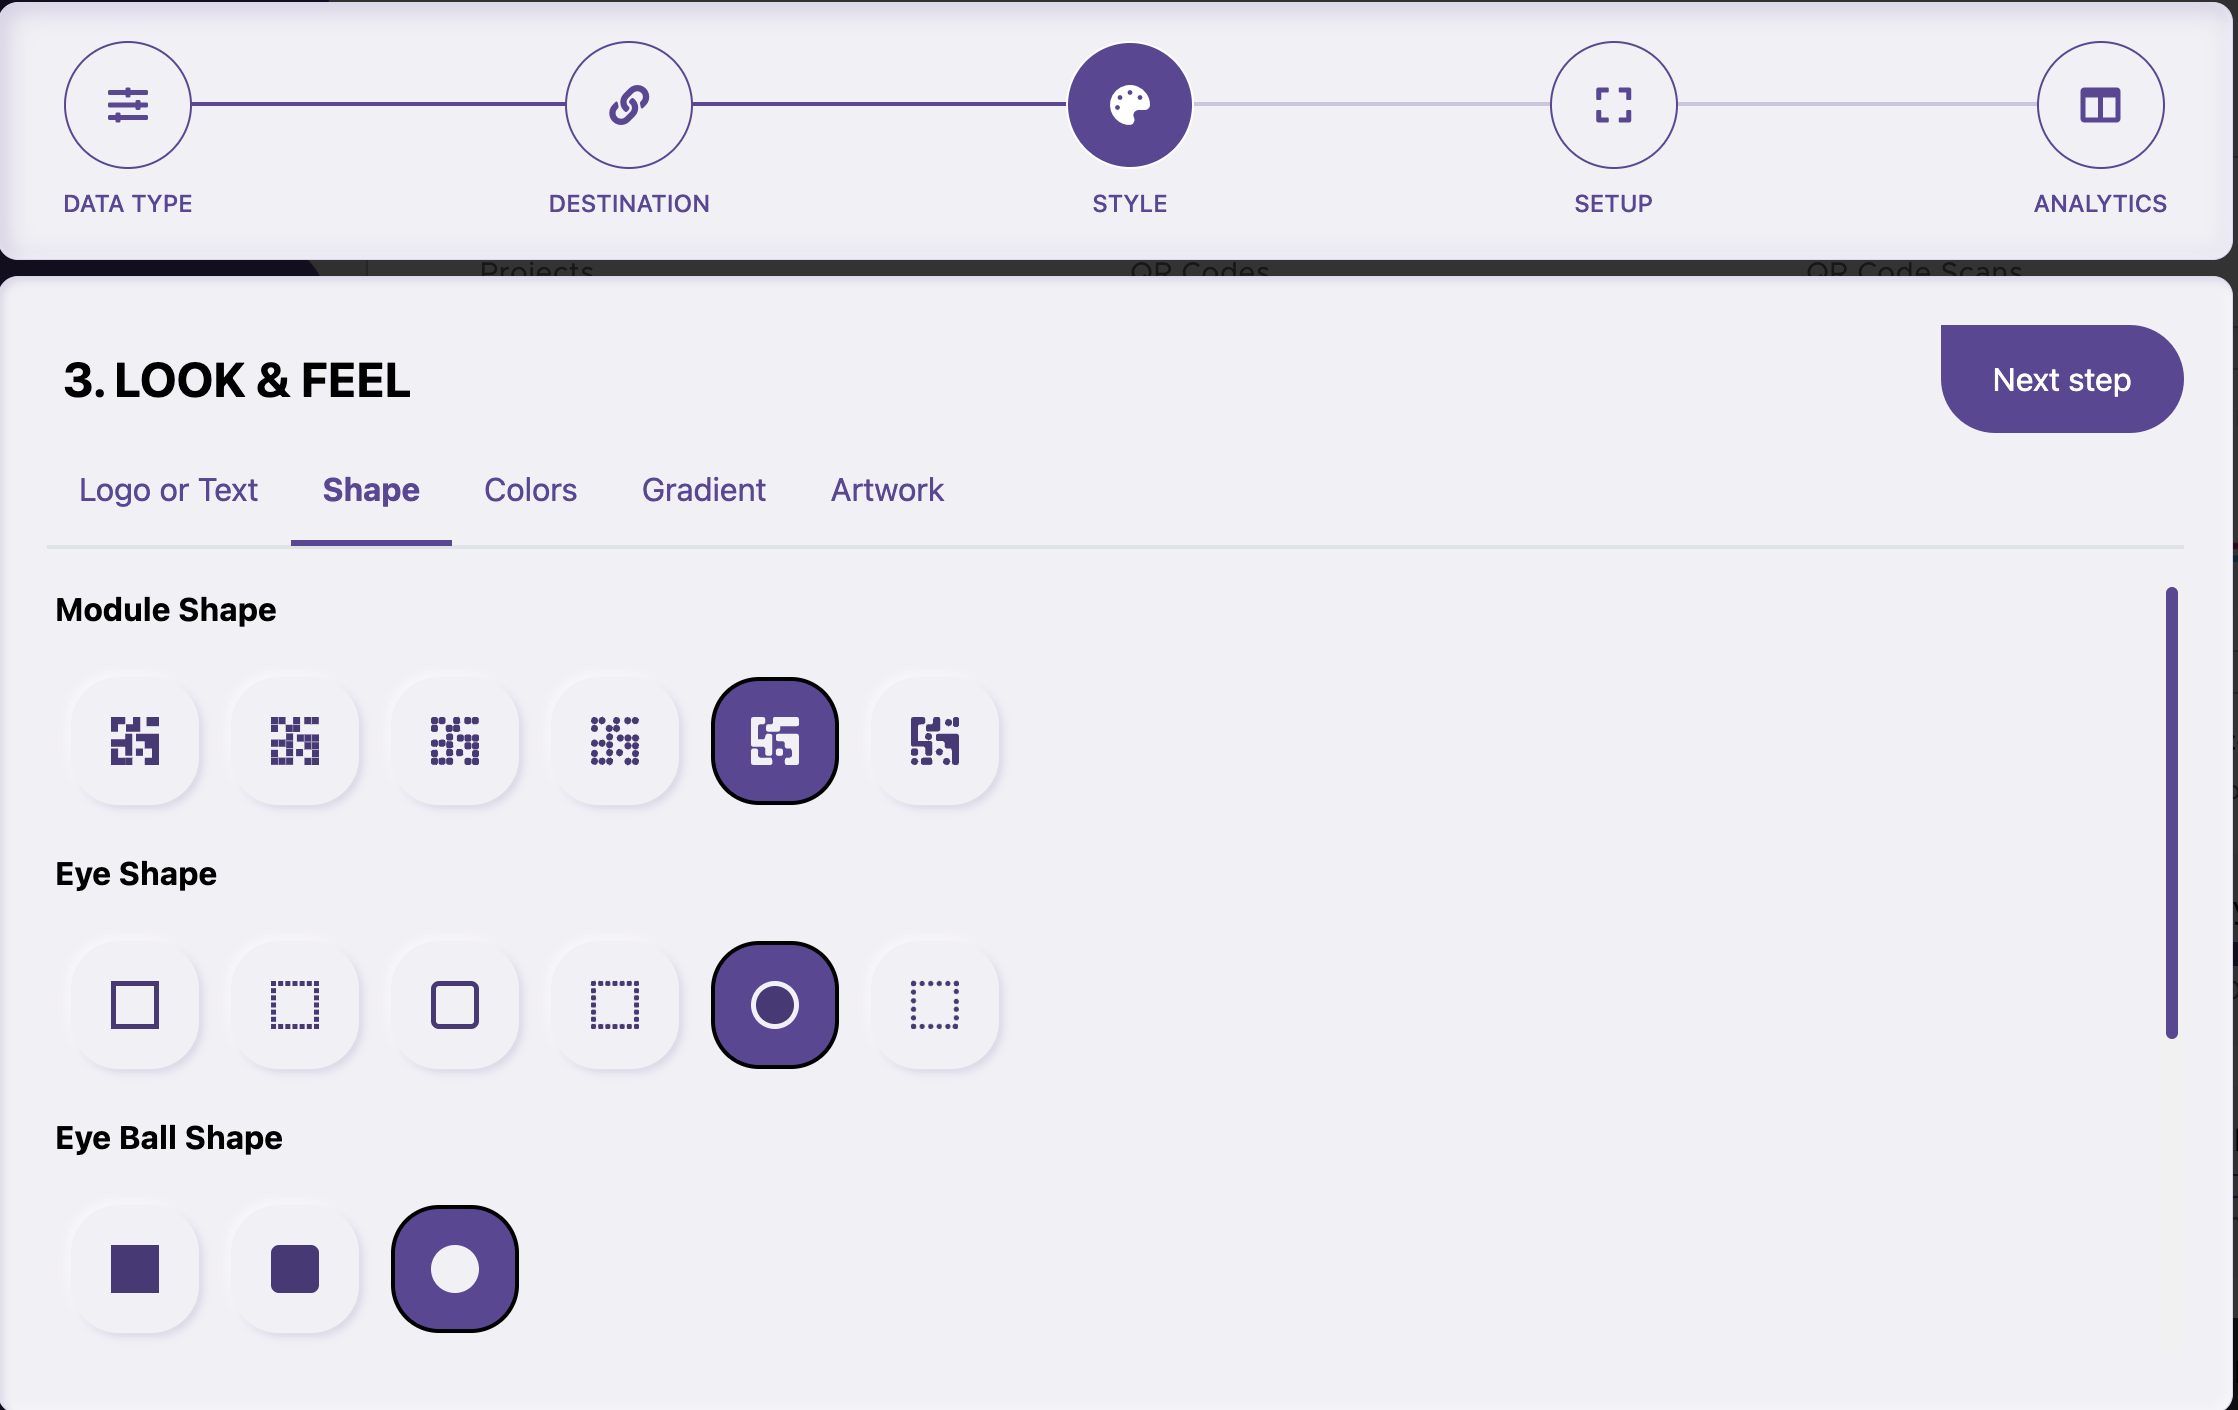
- Shapes: Choose different module, eye and eyeball shapes along with the shapes for alignment - both inner and outer.
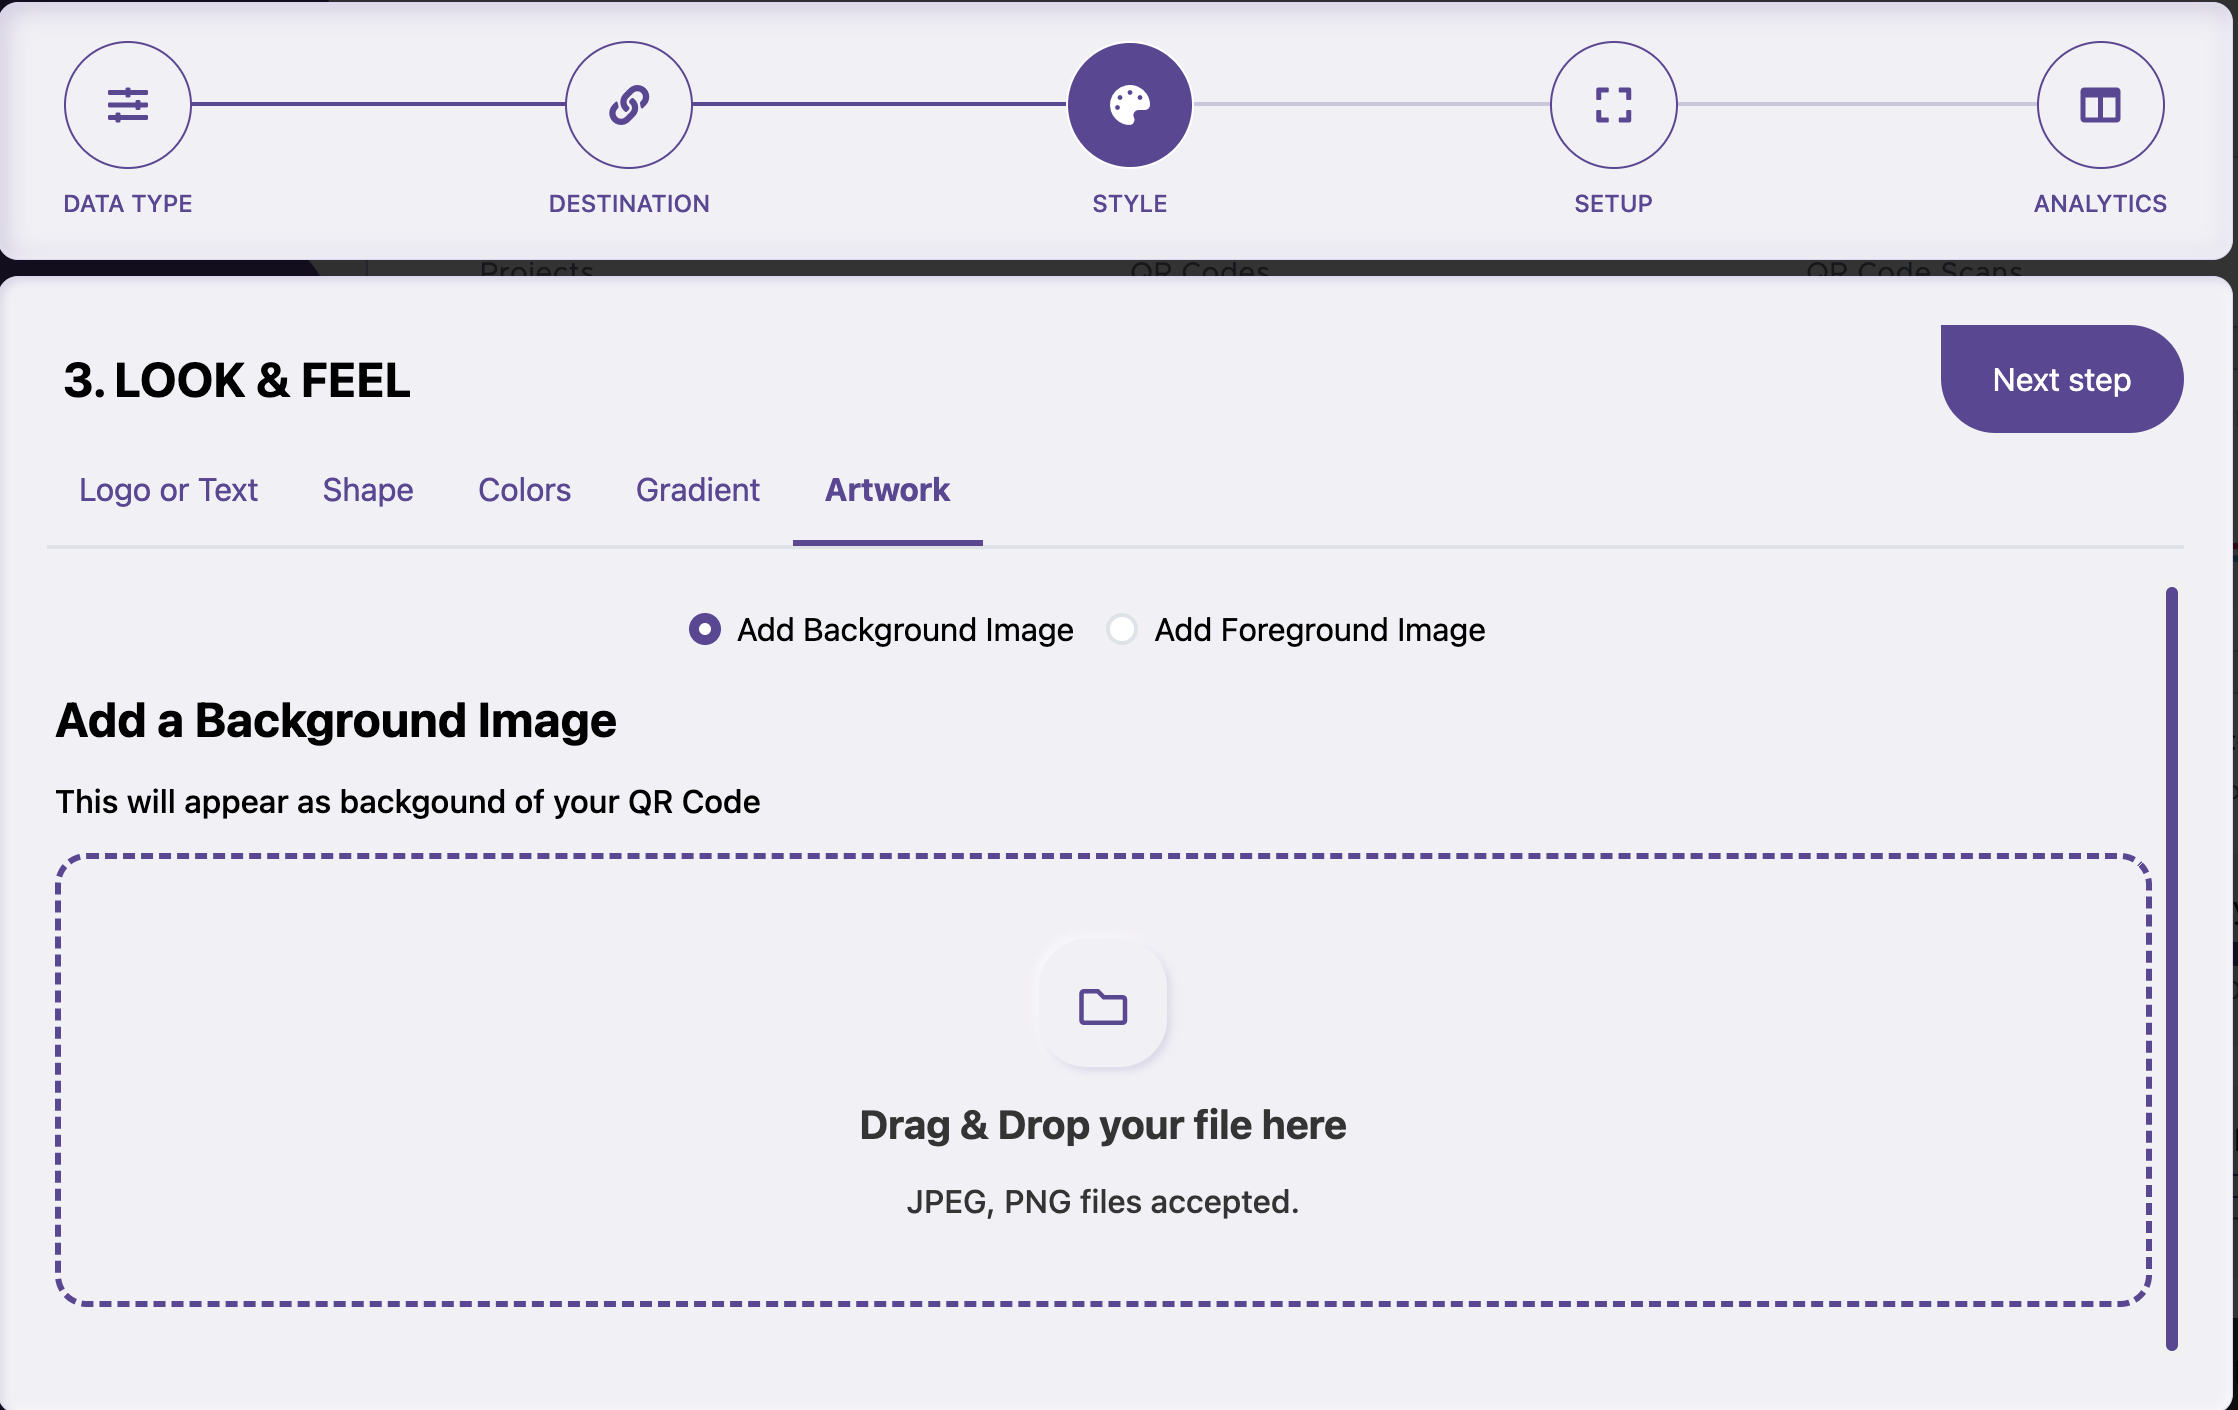
- Branding: Upload a logo or text for the center of the QR Code. Or choose to upload an image of your choice for either the foreground or background of a QR Code.
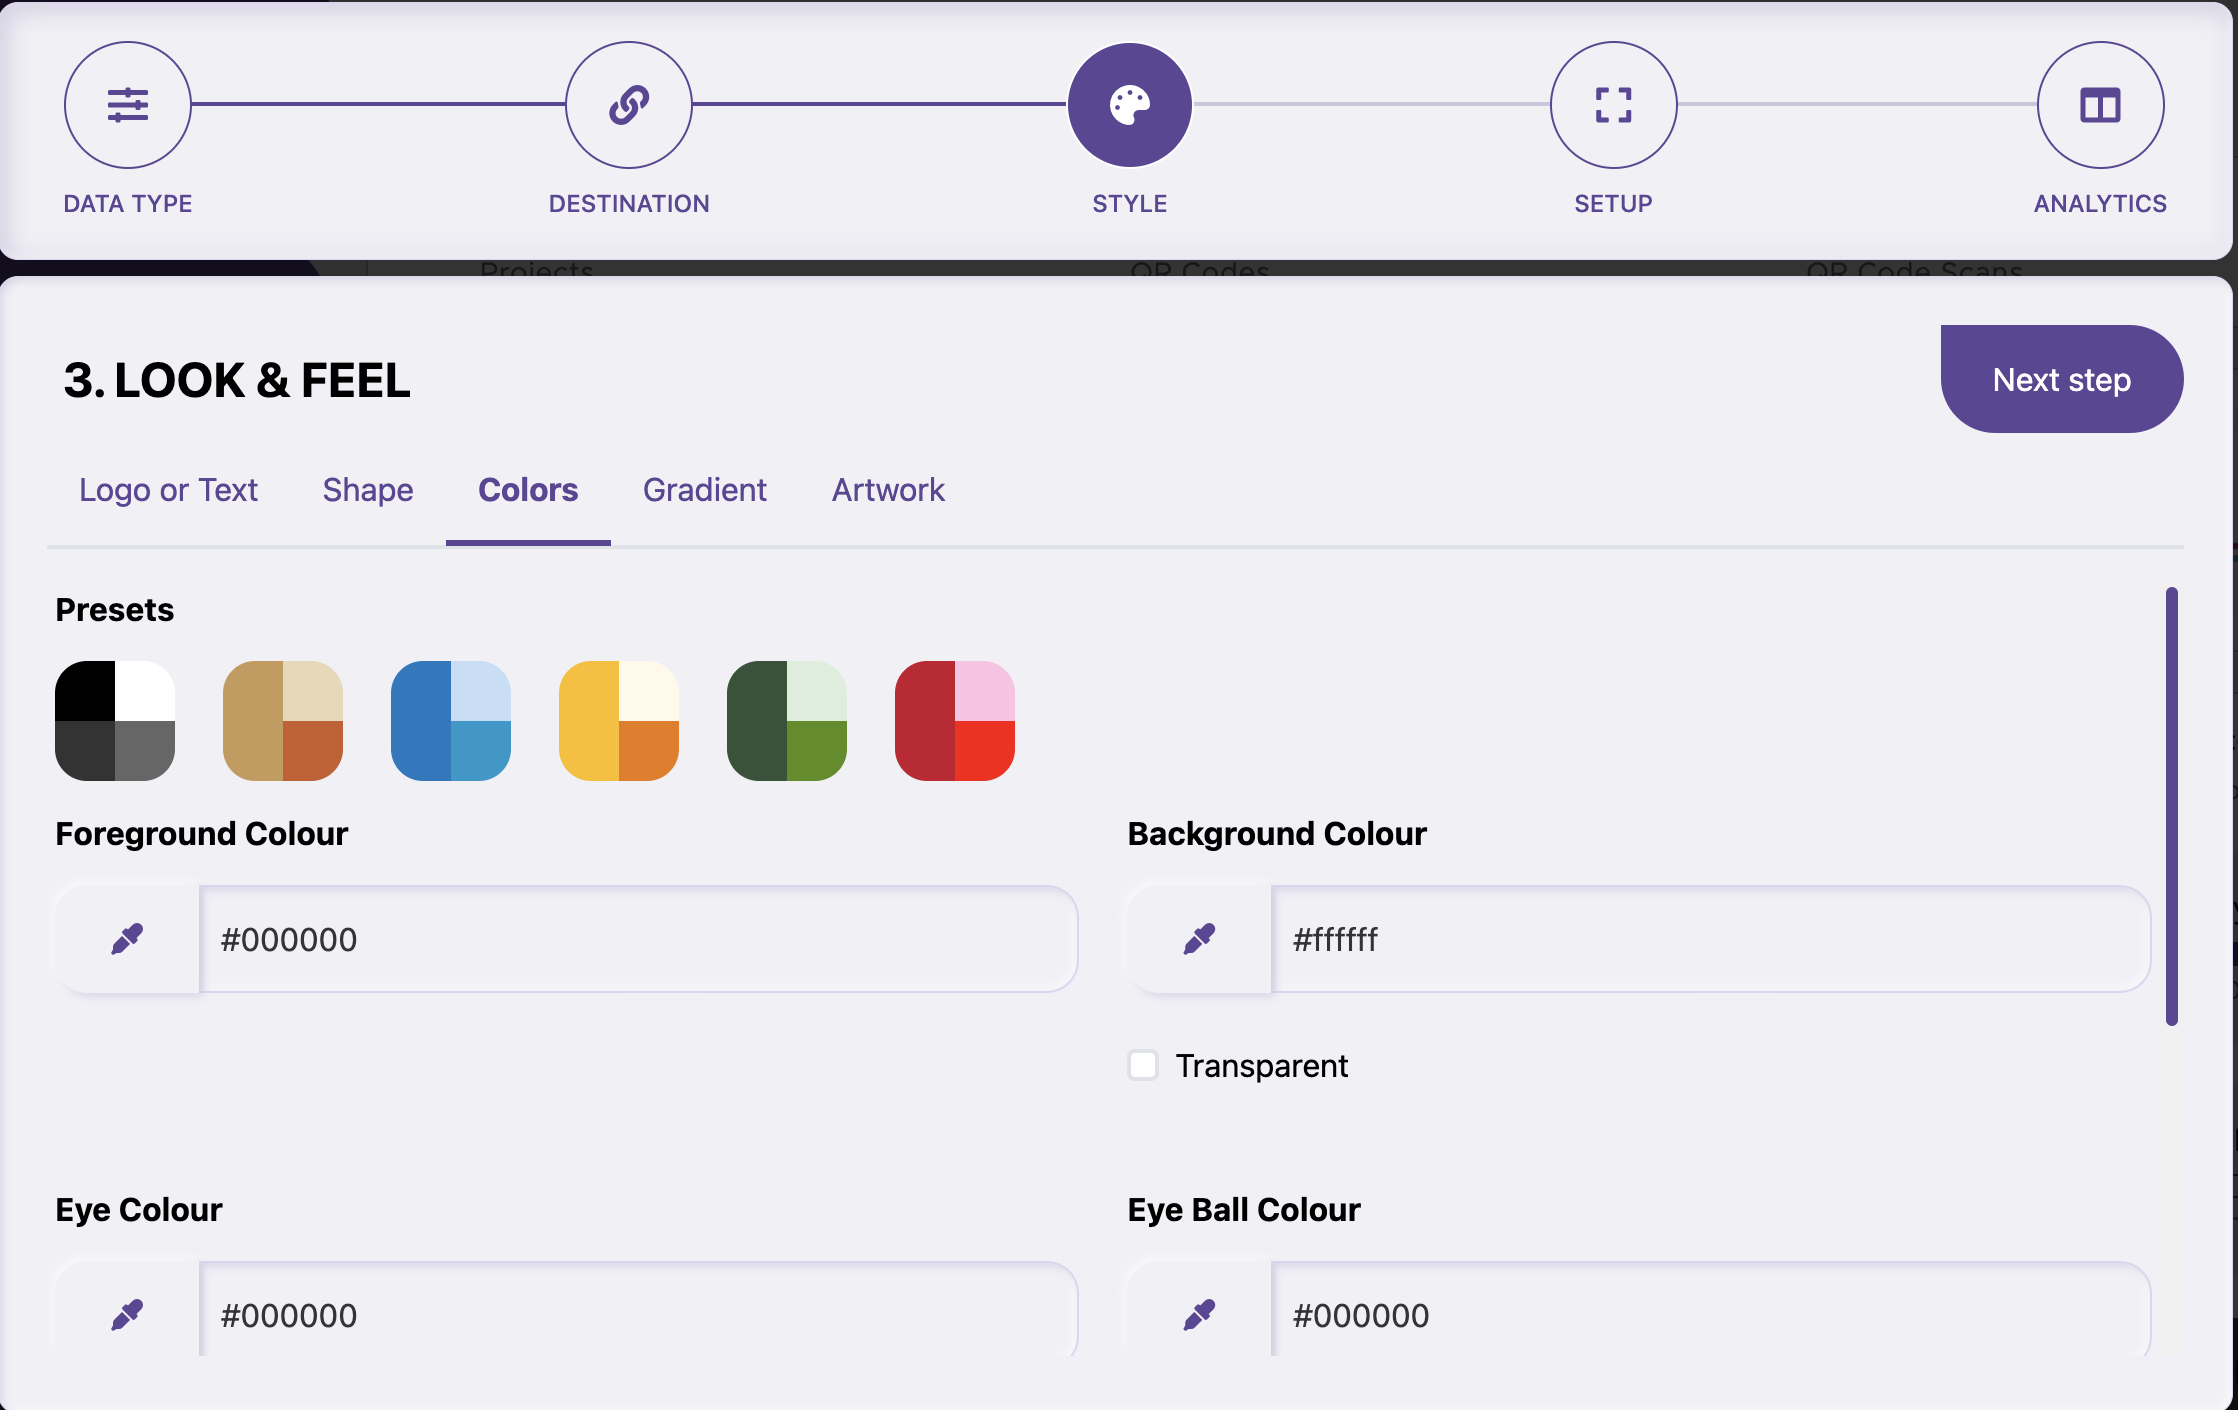
- Color: Choose different colors either from the presets or choose a custom color from the picker.
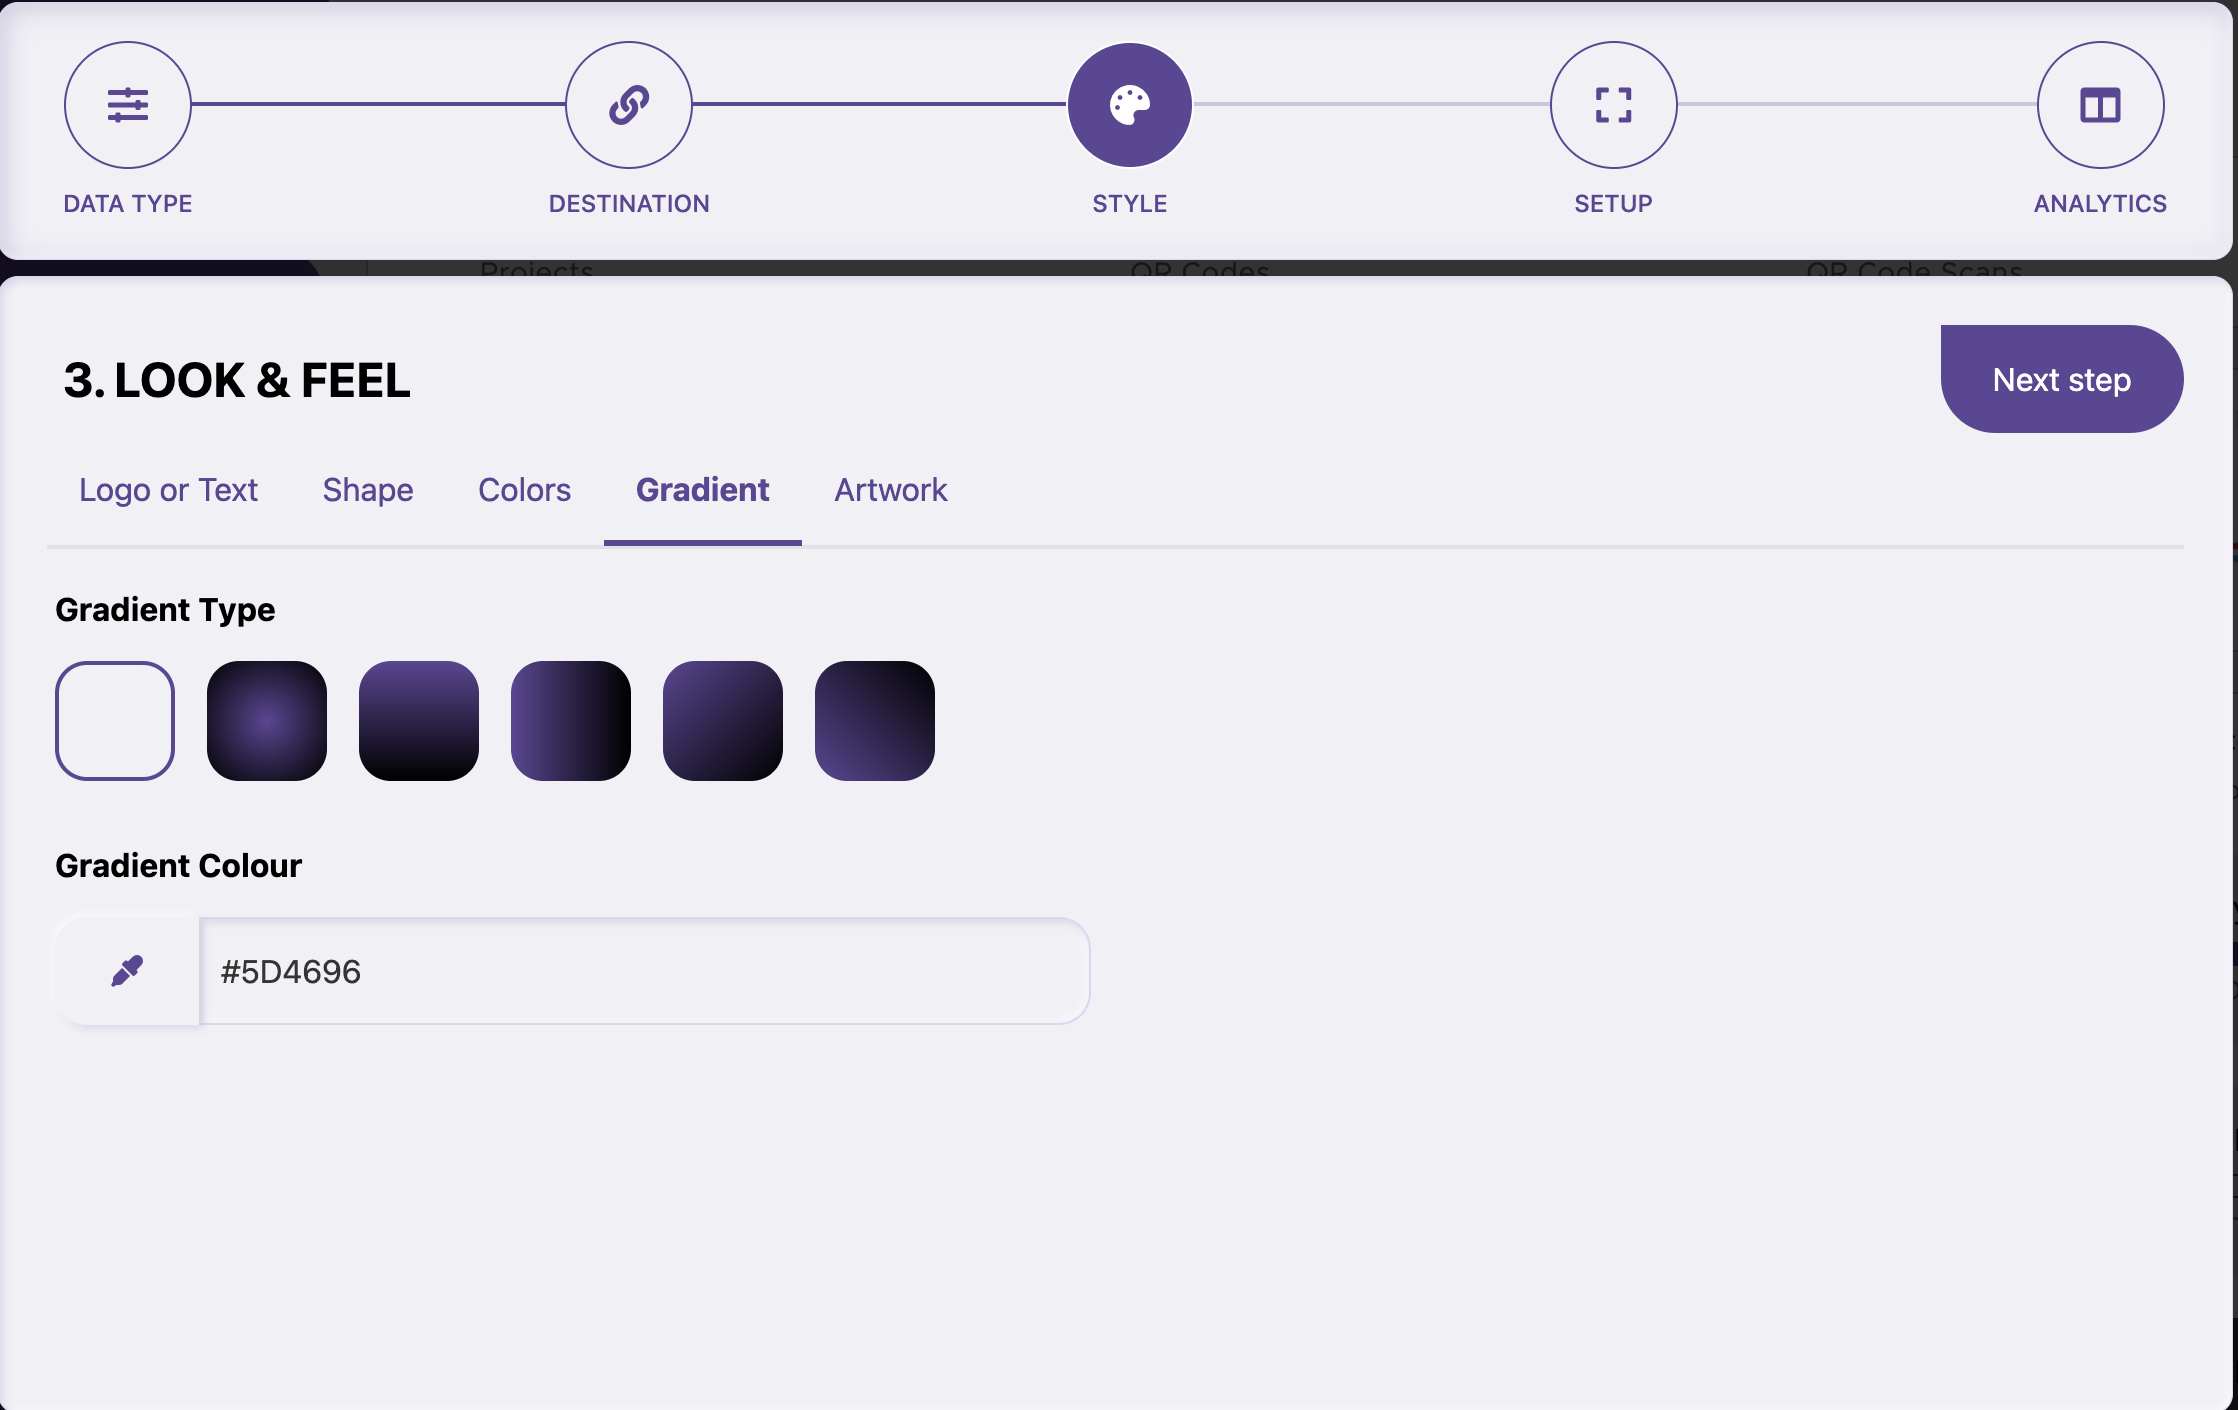
- Gradient: You can choose two colors for a gradient effect along with its type for the foreground of the QR Code.
You can see the changes in real-time on the right side of the page. Please note that styling is only available to paid subscribers. When you’re done styling the code, click on “Next step”.
04
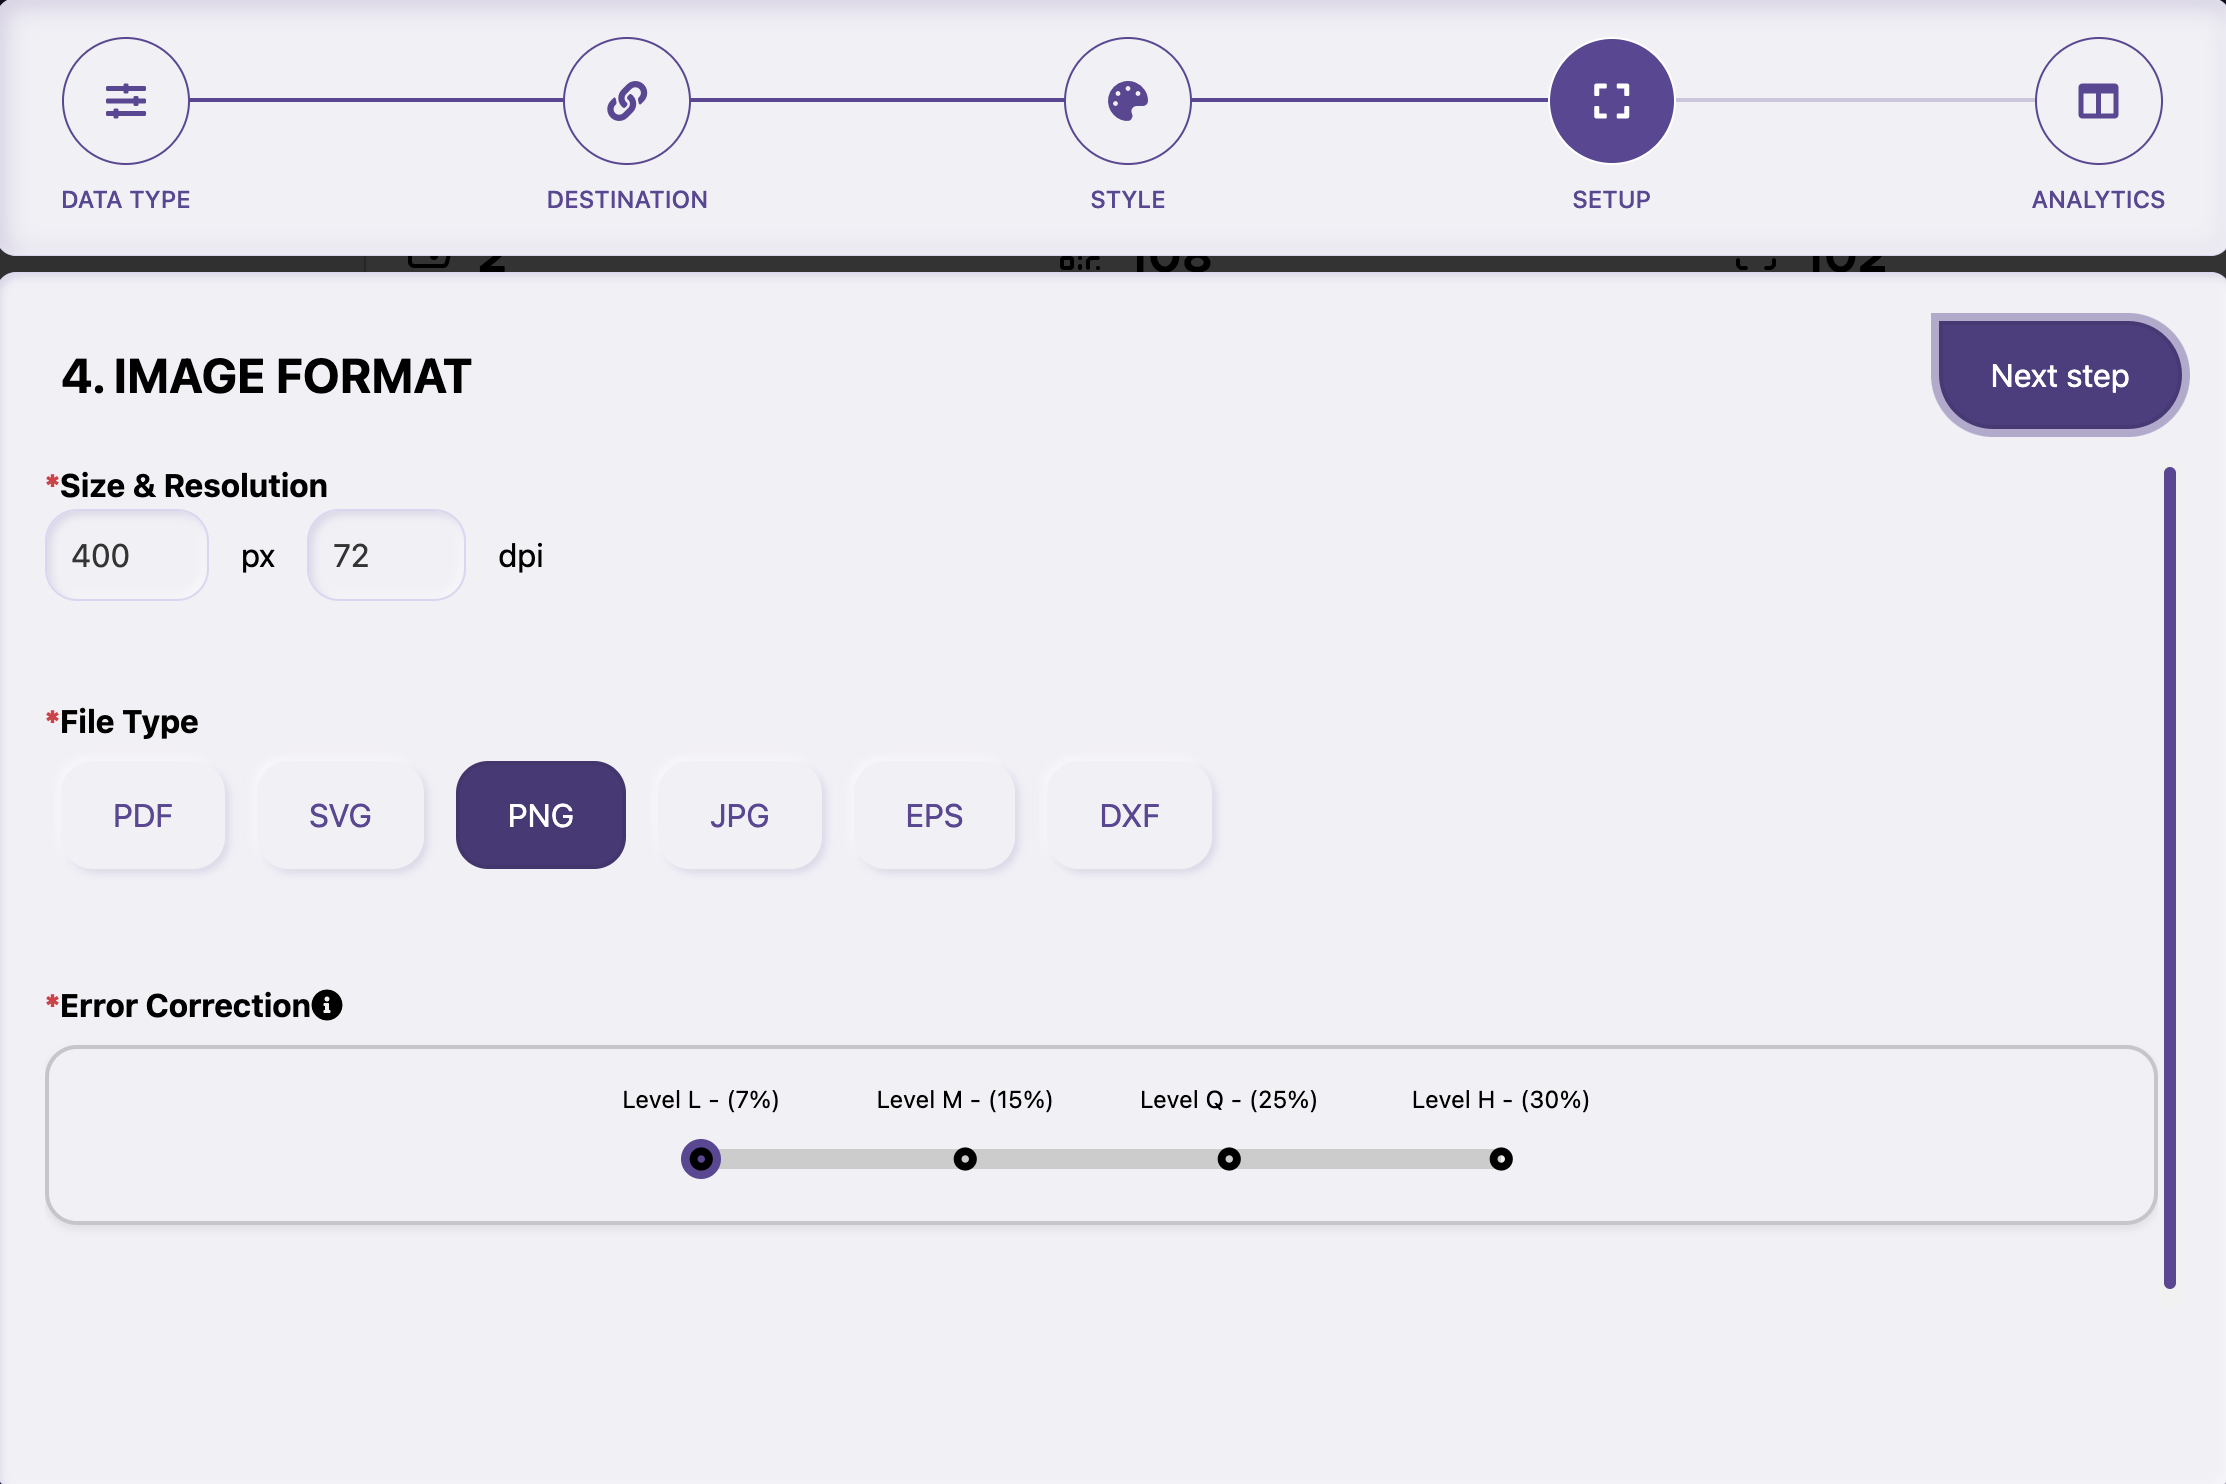
The next step is for “IMAGE FORMAT” - you can choose the size and resolution of the code, the download file type, and the error correction level.
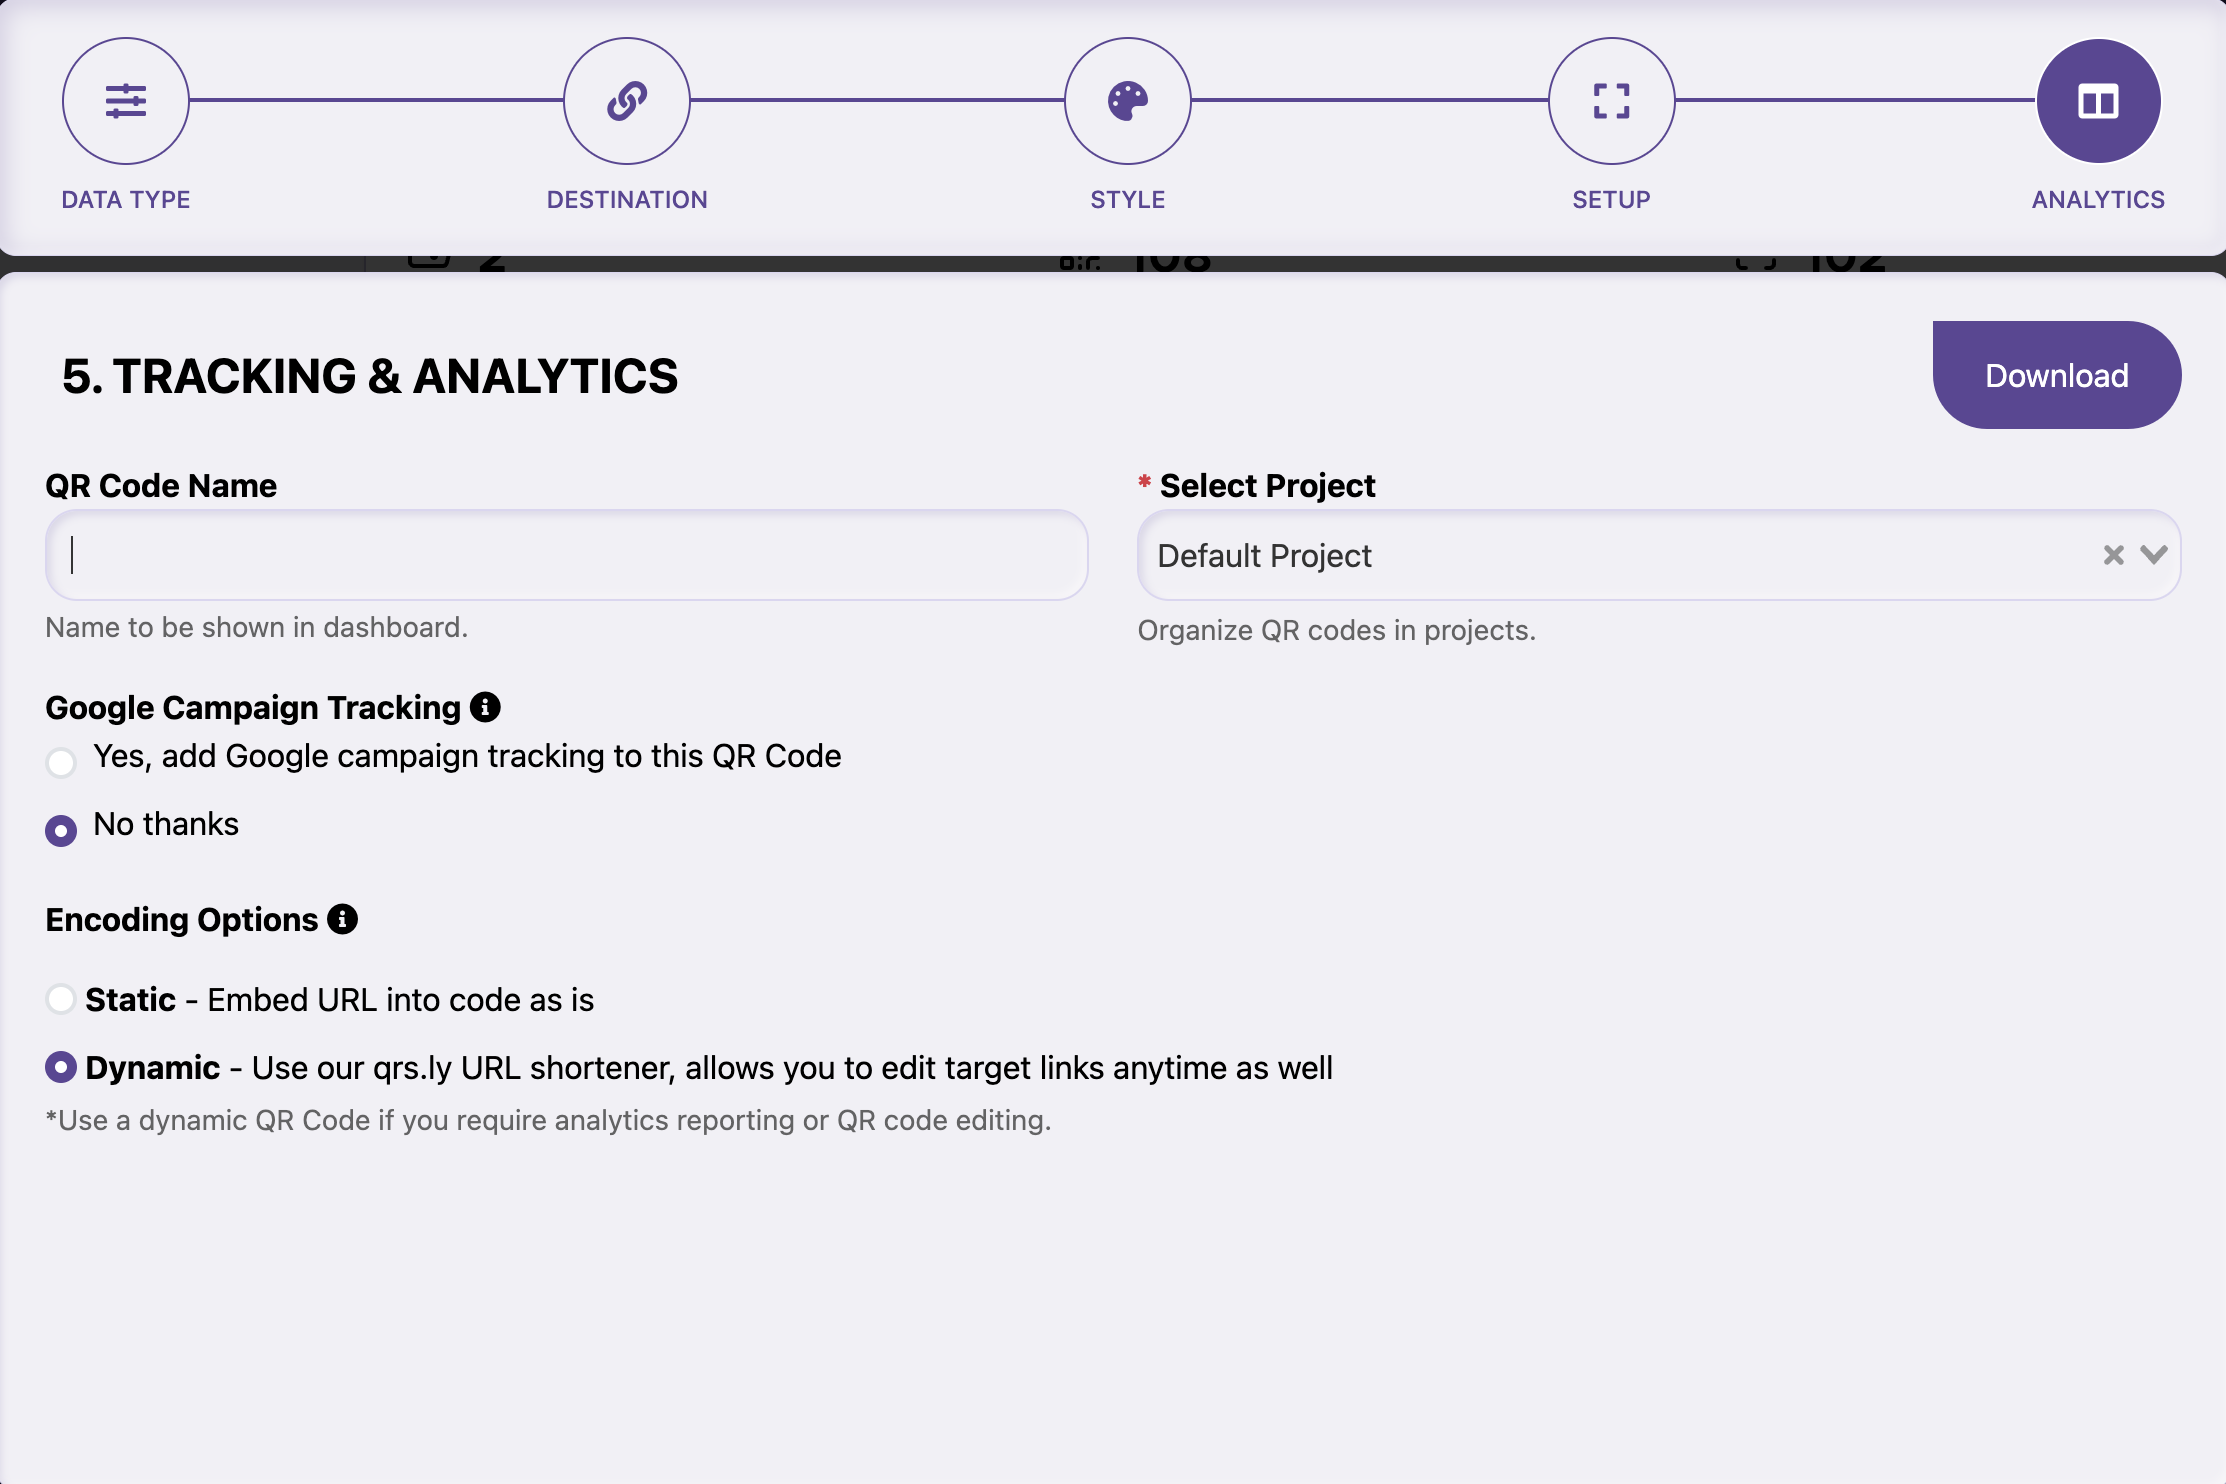
05
On the next page, you can name your QR code and the project folder in which it will reside (For paid subscribers only). Choose whether or not you want google campaign tracking and whether your code is static or dynamic. And DOWNLOAD!
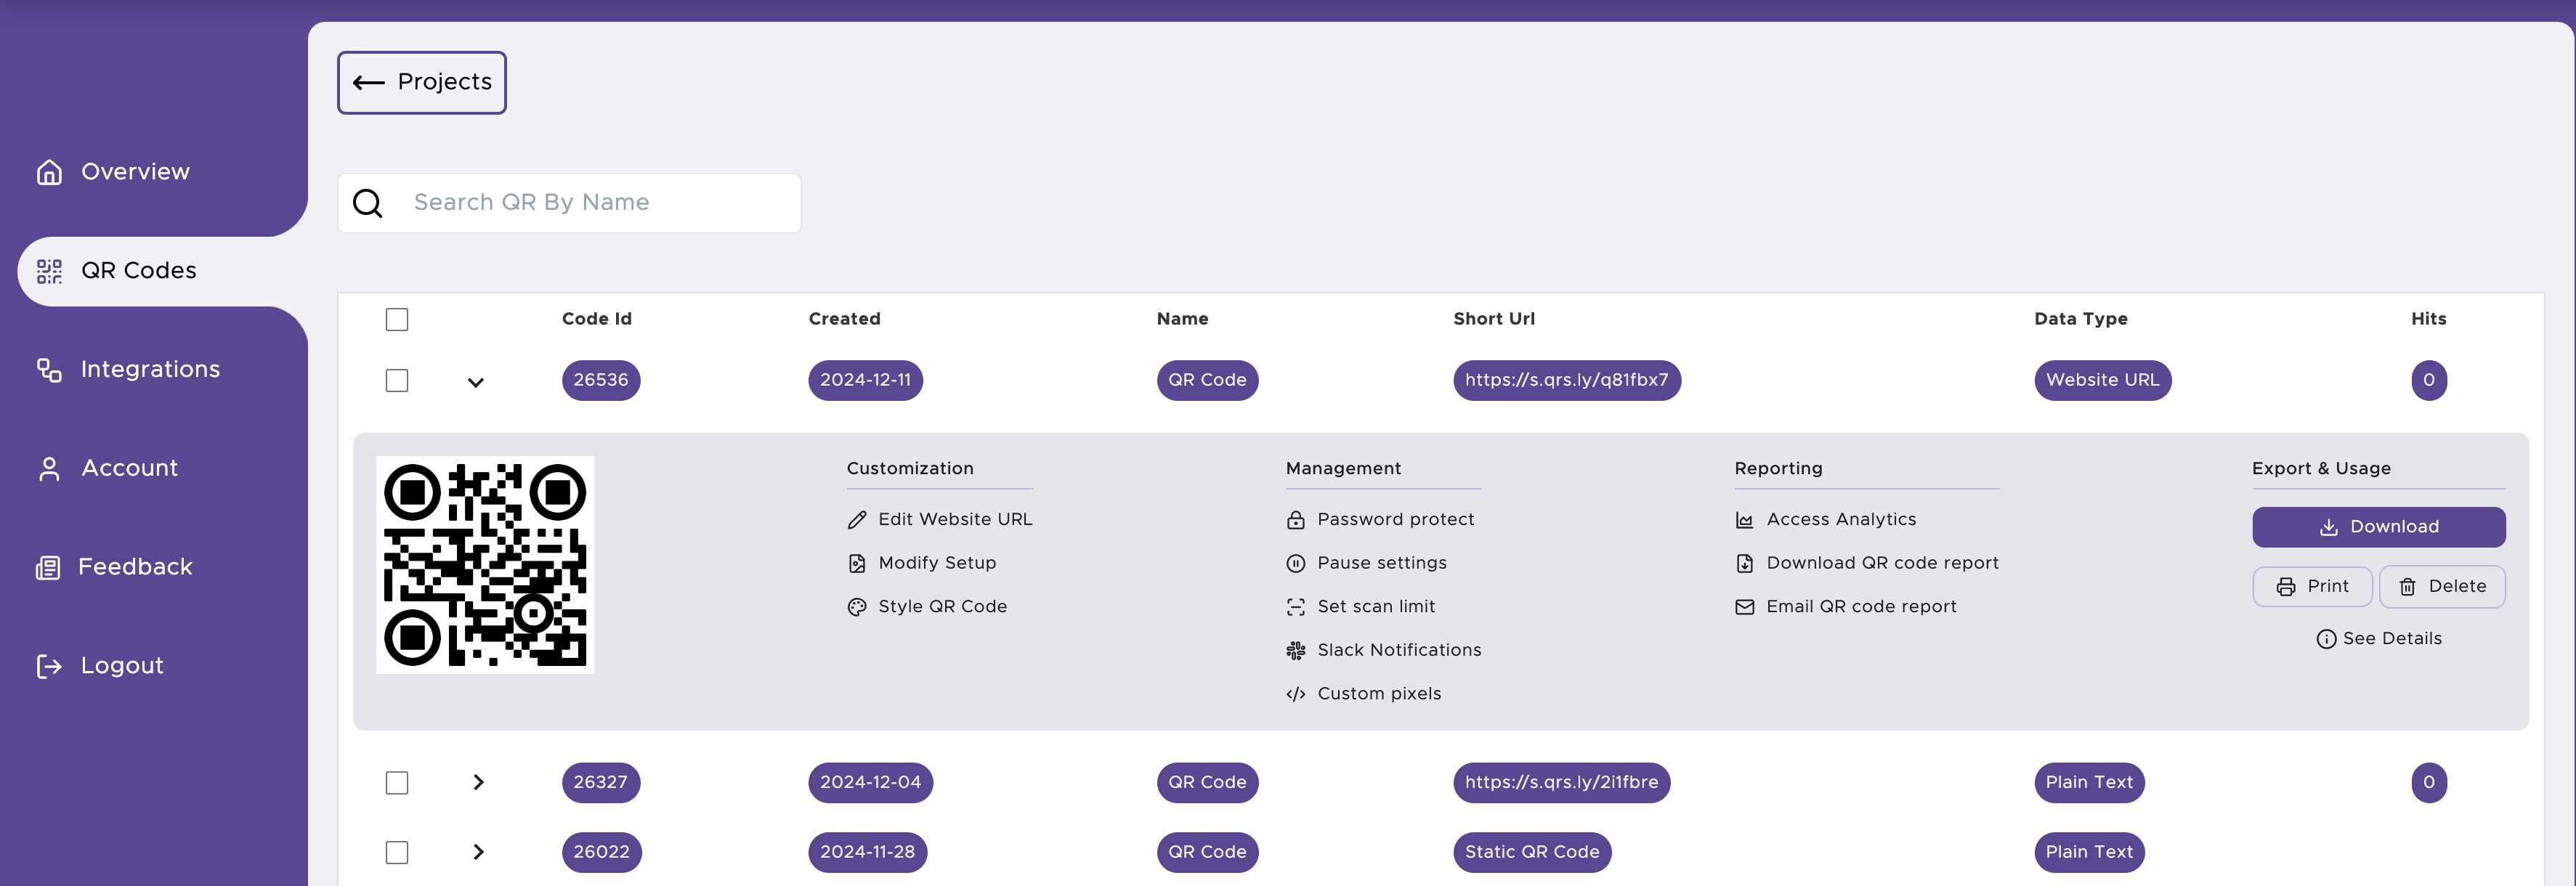
06
Click on “QR CODES” on the sidebar on the left of the screen to see your QR codes under each project.
As long as the QR code is a dynamic one, you can modify or style the image and/or edit the URL. You can download the code or print a label sheet.
You can also access the analytics, google campaign, password protect the code, set the code to be paused, or set the scan limit along with slack notifications for each scan.
Just click on the arrow to the left of the code info and you will see all of those options.


 English (UK)
 French (FR)